Configuring a Raspberry Pi Image for the Neato
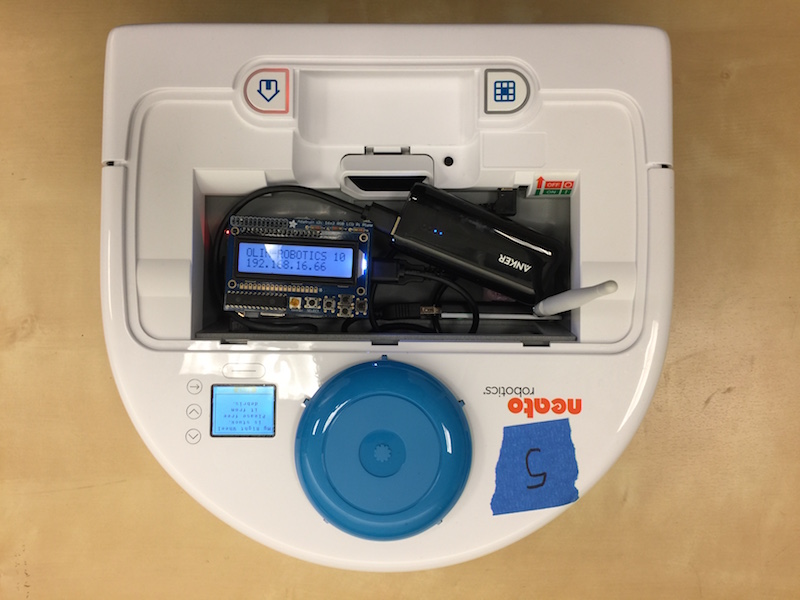
The Neato setup requires a Raspberry Pi to act as a remote control interface between the student laptop and the robot. We have created a setup based on a Raspberry Pi with an accompanying 16x2 LCD panel (for displaying debug information regarding Wifi).
Once you’ve purchased the relevant hardware and completed the setup of the LCD panel (it requires about 30 minutes of soldering), you are ready to go.
Configuring the Raspberry Pi Image
Starting with a MicroSD card 8GB in size, perform the following steps.
- Flash the SD card with the Raspbian 2015-05-07 Wheezy image. For instructions on how to do this, consult the Raspberry Pi documentation. Please note that we are using an old version of Raspbian due to dependencies on older hardware (this is not optimal as this version of Raspbian is no longer supported). If you get this working with a newer version of Raspbian, we'd like to hear about it.
- Startup the Pi and login (e.g., by attaching a keyboard, monitor, and a power supply). If you haven't used a Pi before, the default user name is "pi" and password is "raspberry".
- With the Pi connected to the Internet (the Ethernet works best for this as it requires minimal configuration in most network setups), run the following commands and follow the instructions given in the prompts. This sequence of commands will also setup your Wifi. The script assumes that you purchased the Wifi adapter we suggested in the shopping list and that your Wifi network can be joined with a WPA key.
$ cd ~
$ git clone https://github.com/qeacourse/RoboNinjaWarriorRaspberryPi
$ cd RoboNinjaWarriorRaspberryPi
$ sudo su
$ ./setup.sh
$ shutdown -h now
Operating Instructions
Once you’ve created the image, use one of the micro USB cables to connect the Neato to the Raspberry Pi. Use the other micro USB cable to connect the USB battery pack to the power input port of the the Pi. All other operating instructions are given in the student-facing guide on operating the robots.